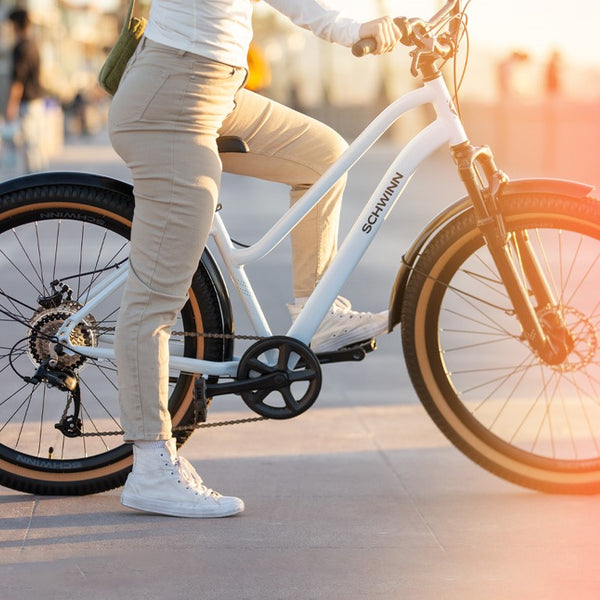

Cruiser
Around the block, on the boardwalk, or at the beach - you're always riding in style on a Schwinn cruiser. These vintage-inspired bikes feature padded seats and upright riding positions for extra comfort every time you ride.

Best For: Pavement
Riding Position: Relaxed Upright
Tire Type: Wide Comfort

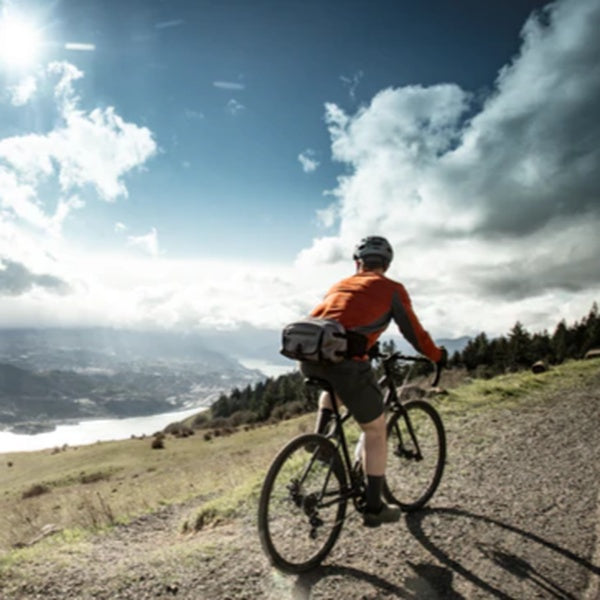
Hybrid
Change up your routine! Go on a ride around the neighborhood today, a bike path tomorrow, and that new trail on the weekend – a hybrid bike can do it all. Enjoy a sporty yet comfortable ride on or off road.

Best For: Pavement or light trails
Riding Position: Upright
Tire Type: Medium width, multi-use

Mountain
From dirt paths through the park to rugged trails, these mountain bikes are built for exploring. Front or dual suspension lets you ride over rough terrain while mountain tires provide the grip and stability you’re looking for.

Best For: Rugged Trails
Riding Position: Forward
Tire Type: Wide Knobby

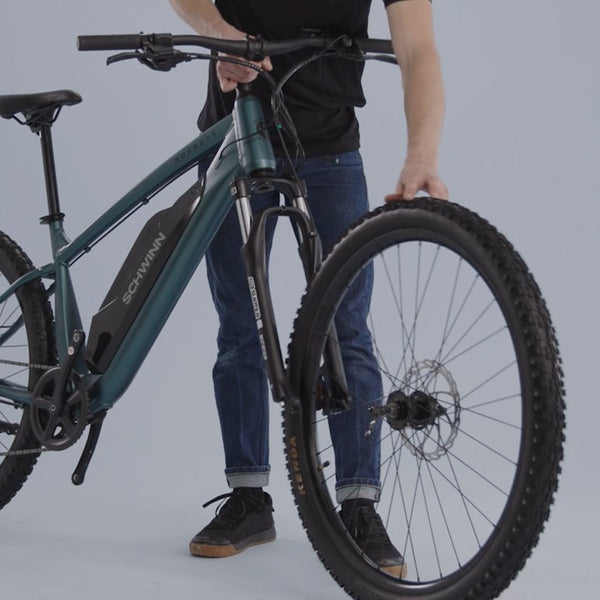
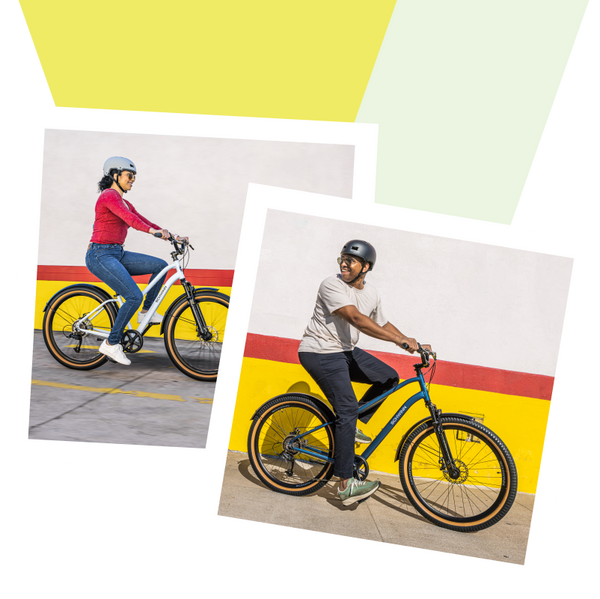
Electric
Power up your adventure and turn your everyday ride into something extraordinary with an electric bike. With pedal assist and throttle, you can go farther, faster, and have more fun doing it. Don’t sweat the hills – just charge it up, get on, and go.
Range: Up to 45 Miles
Speed: Up to 20 mph
Control: Pedal Assist or Throttle

Road
Around town or across the country, these lightweight road bikes are designed for distance and speed. Perfect for the experienced fitness-minded rider who wants to push their limits and set a new personal best.

Best For: Pavement
Riding Position: Forward
Tire Type: Skinny

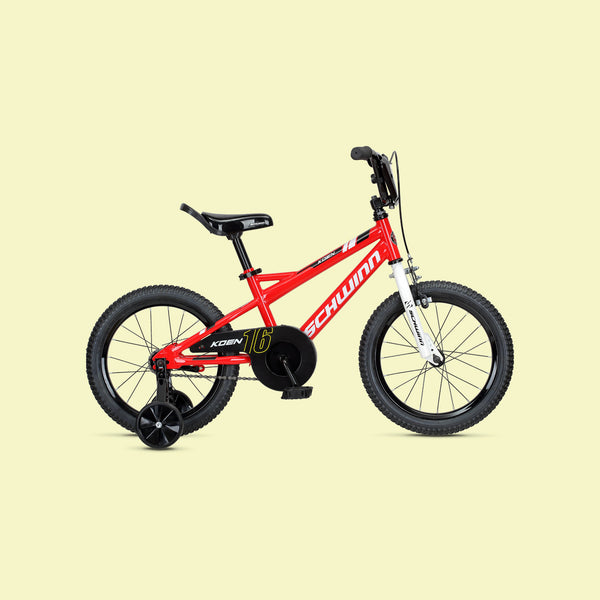
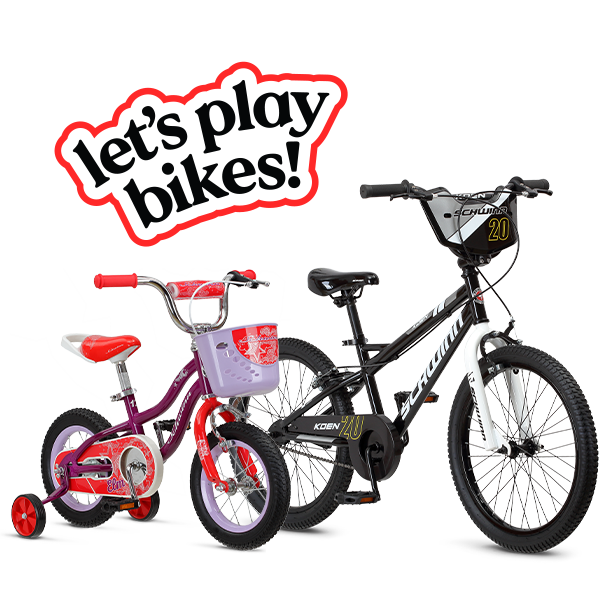
Kids
Riding a bike is a blast! Designed specifically for kids, these bikes are perfect for learning and having fun. They include great features like training wheels, baskets or number plates, fun graphics, bold colors, and more.
Best For: Pavement
Riding Position: Upright
Tire Type: Medium Width

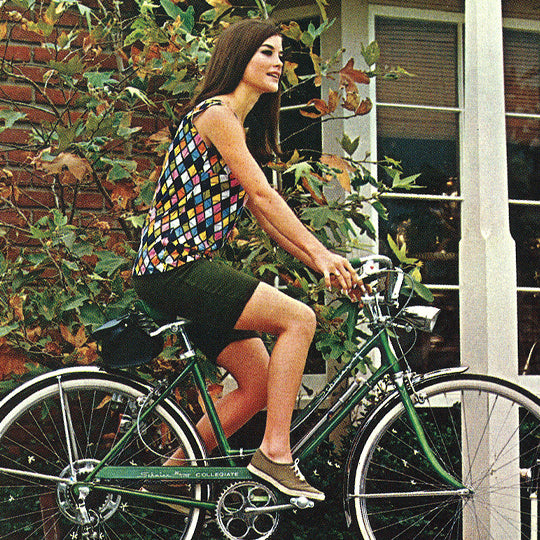
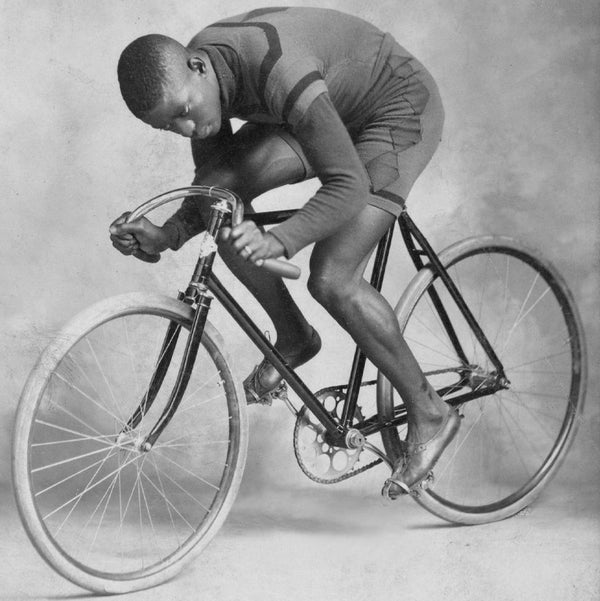
Classic
Iconic rides in unforgettable styles. Whether you’re a Schwinn enthusiast or just love the look, you’re welcome to join us in celebrating a legacy of fun and adventure while you discover what makes each of these bikes a true classic.
Best For: Pavement
Riding Positon: Upright
Tire Type: Medium Width